¶ Creating Custom Nipples
With Blender, and the plugins instaled, you can create your own custom nipples for use in FVNE.
Since this is so easy, here is a full guide on nipple making.
In Blender,
- Delete Cube
- Click Add (Upper Left)
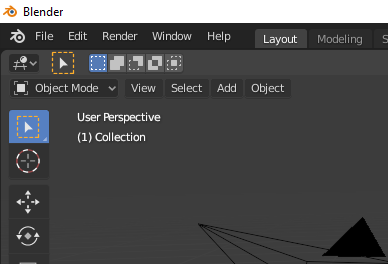
- Add > Mesh > Circle
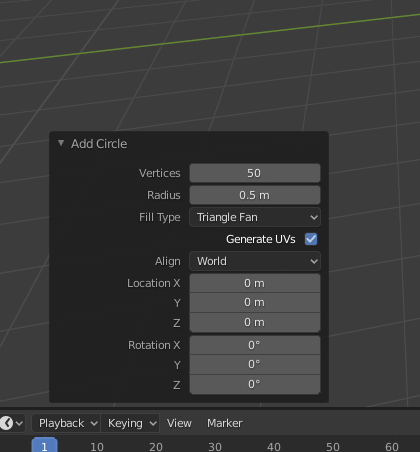
- When you add the circle, there will be a new window on the lower left labelled [Add Circle], click it to bring this window up and add in the settings. Triangle Fan in Fill Type is the only important one at the moment.
- Have the circle selected (Glows yellow) and Go into Modelling tab
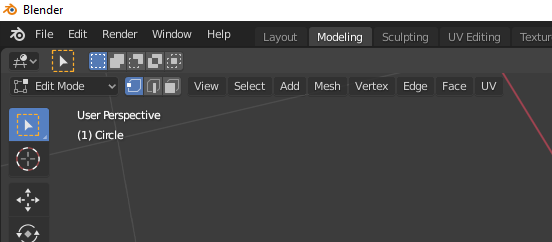
- Select all vertices with Hotkey A
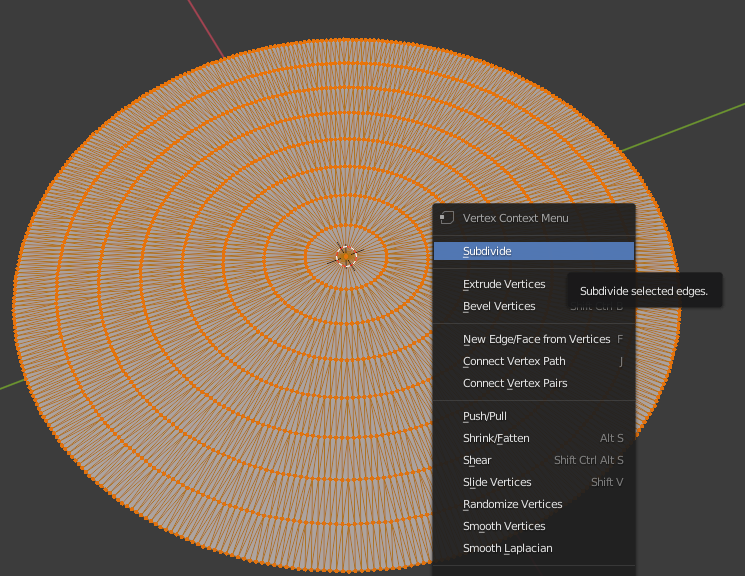
- Right click the model, and choose Subdivide a few dozen times (Do not do it too many times, Ctrl+z to undo)
- Go back into Layout tab (Similar to selecting modelling tab), click the circle, right click the object, and select [Shade Smooth] This will smoothen the jaggedness of the triangles.
- Go into Sculpting tab
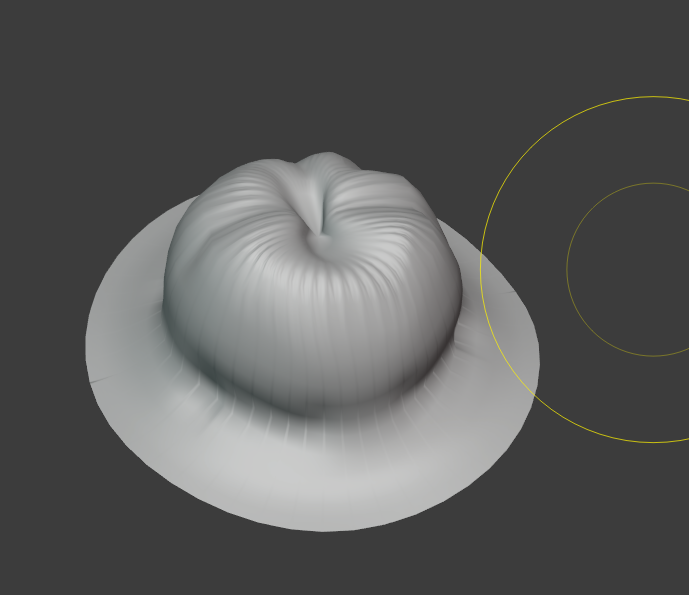
- Make the nipple using sculpting tools. Recommended that you turn symmetry on all sides on the Butterfly with [xyz] to get the base shape first, and gradually turn those down as you go into more asymmetric details).
- Play around with the Sculpt tools here or there.
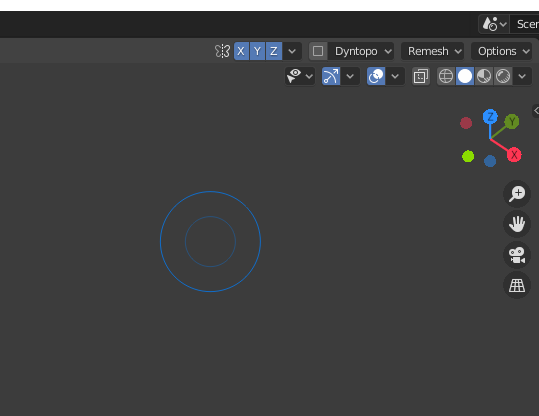
- Sometimes it is good to subdivide some more in areas that will need more details. Select an area in Modelling tab with hotkey C that lets you paint a selection. When selected, Right click into Subdivide. Subdivide grants more triangles, and thus more manoeuvrability to the model.
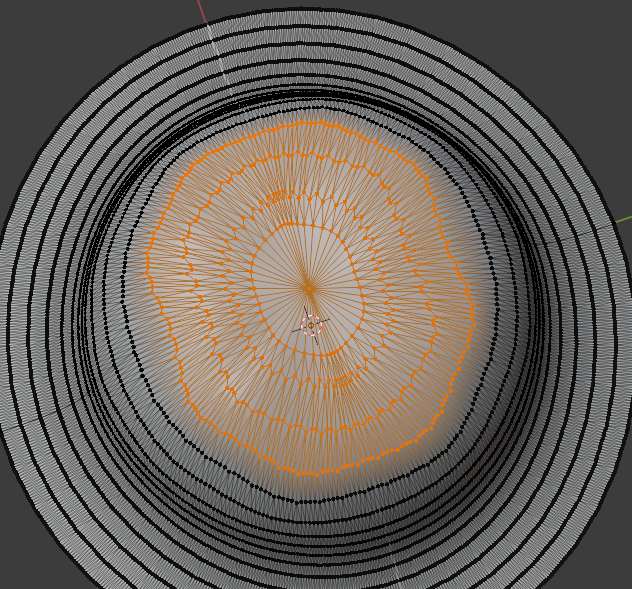
- An example of a nipple from Sculpt mode.
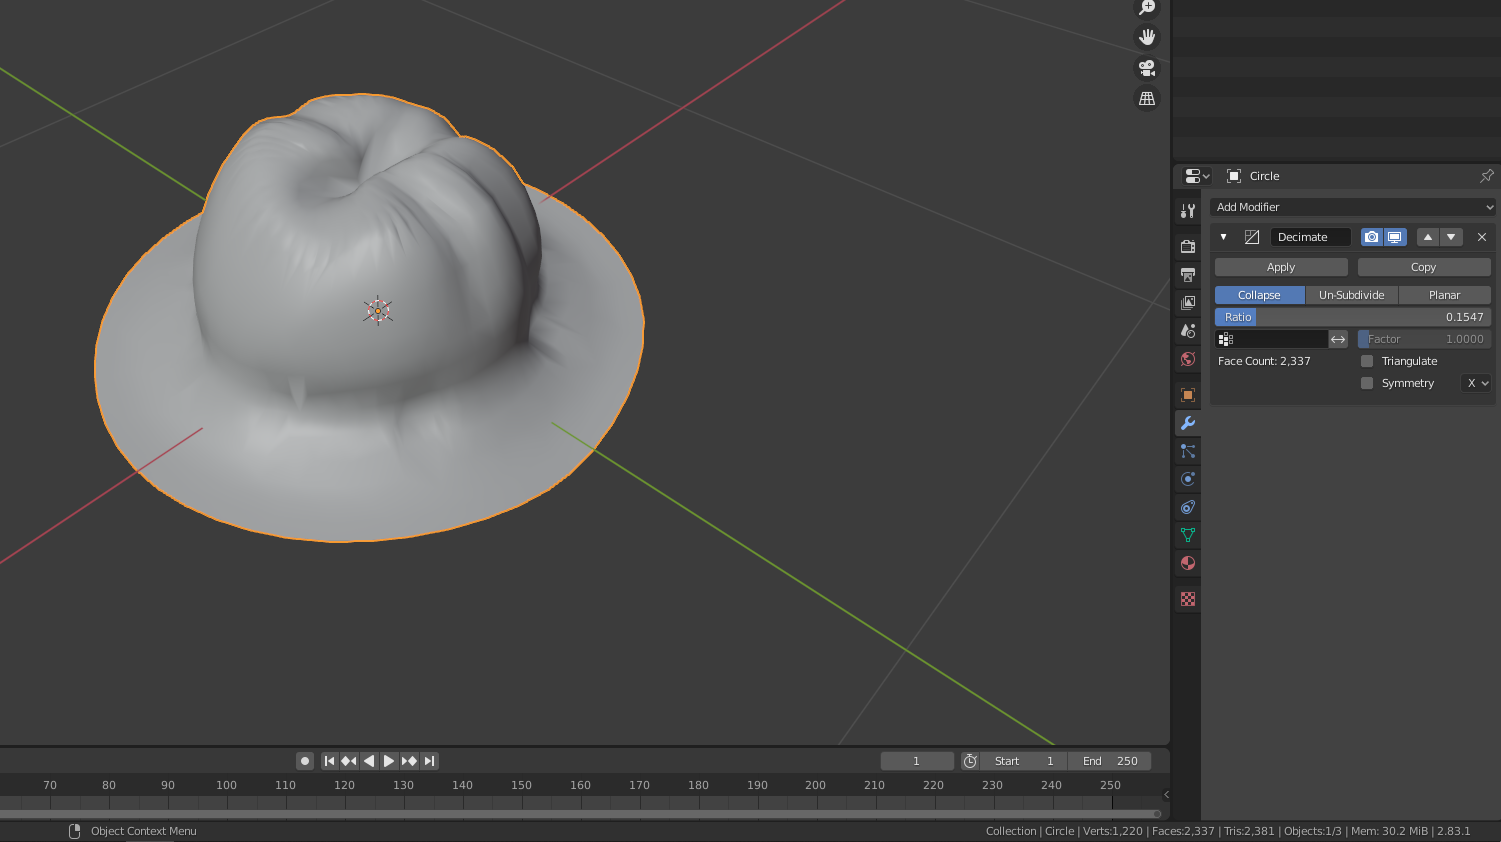
- This is important
Go into Layout tab, click your nipple model, on the right hand find a Blue wrench (Modifier properties) and click it, Add a Modifier, for now add Decimate. And turn the slider down until you have a satisfactory number of Triangles (Which should be very low, prefrebly at around 1000+/-) and satisfactory enough looking nipple. APPLY the Decimate modifier when done.
- Have the Nipple selected in Layout mode, Click on 3 dotted triangle (Object Data Properties) and export Clothing. And export it somewhere you can find it easily.
Nipples are counted as Clothing in Fvne.
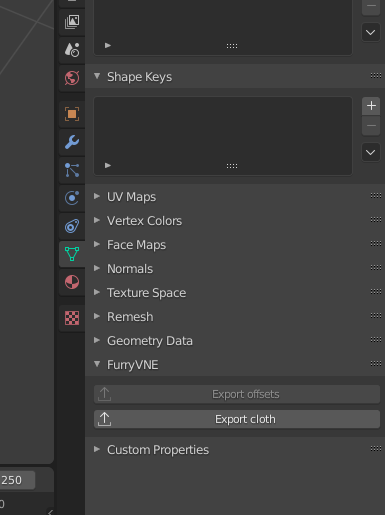
- Go to Fvne and to a character, Import (Top menu) Cloth. Find the nipple, add it, you should now be able to use the nipple on the character via the Areola & Nipple outliner and selecting a model.
Because of the default position in Blender, it will accurately assume a functional position via the Feature. To add multiple Nipples in other areas, you would have to make and place them as if you were typically making clothing. Also, this one nipple that you have made can also be used by other characters just as easily, which is why it is beneficial to create nipples in this way so that you eventually have a library of them that you can use without making any more new.
Tip:
It is advised to use as much of the circular platform as possible, for either just the Nipp of the nipple, or the Areola AND Nipple. If it goes unused, you may have limitations with sizing the nipple on a character, creating unwanted artefacts, such as the disk reaching out too far, resulting in you having to settle for a smaller space. So just use the entire circle. Get creative!
Next Page [Creating a garment, and Binding it]