¶ Activating physics to a Model
Many, but not all in-app models have physics.
For the models that do, usually Tails and Ears, have rigs that make them able to be physical.
¶ (Quick guide For Custom Models importing)
A model and the armature selected should be exported out of blender as a .glb file.
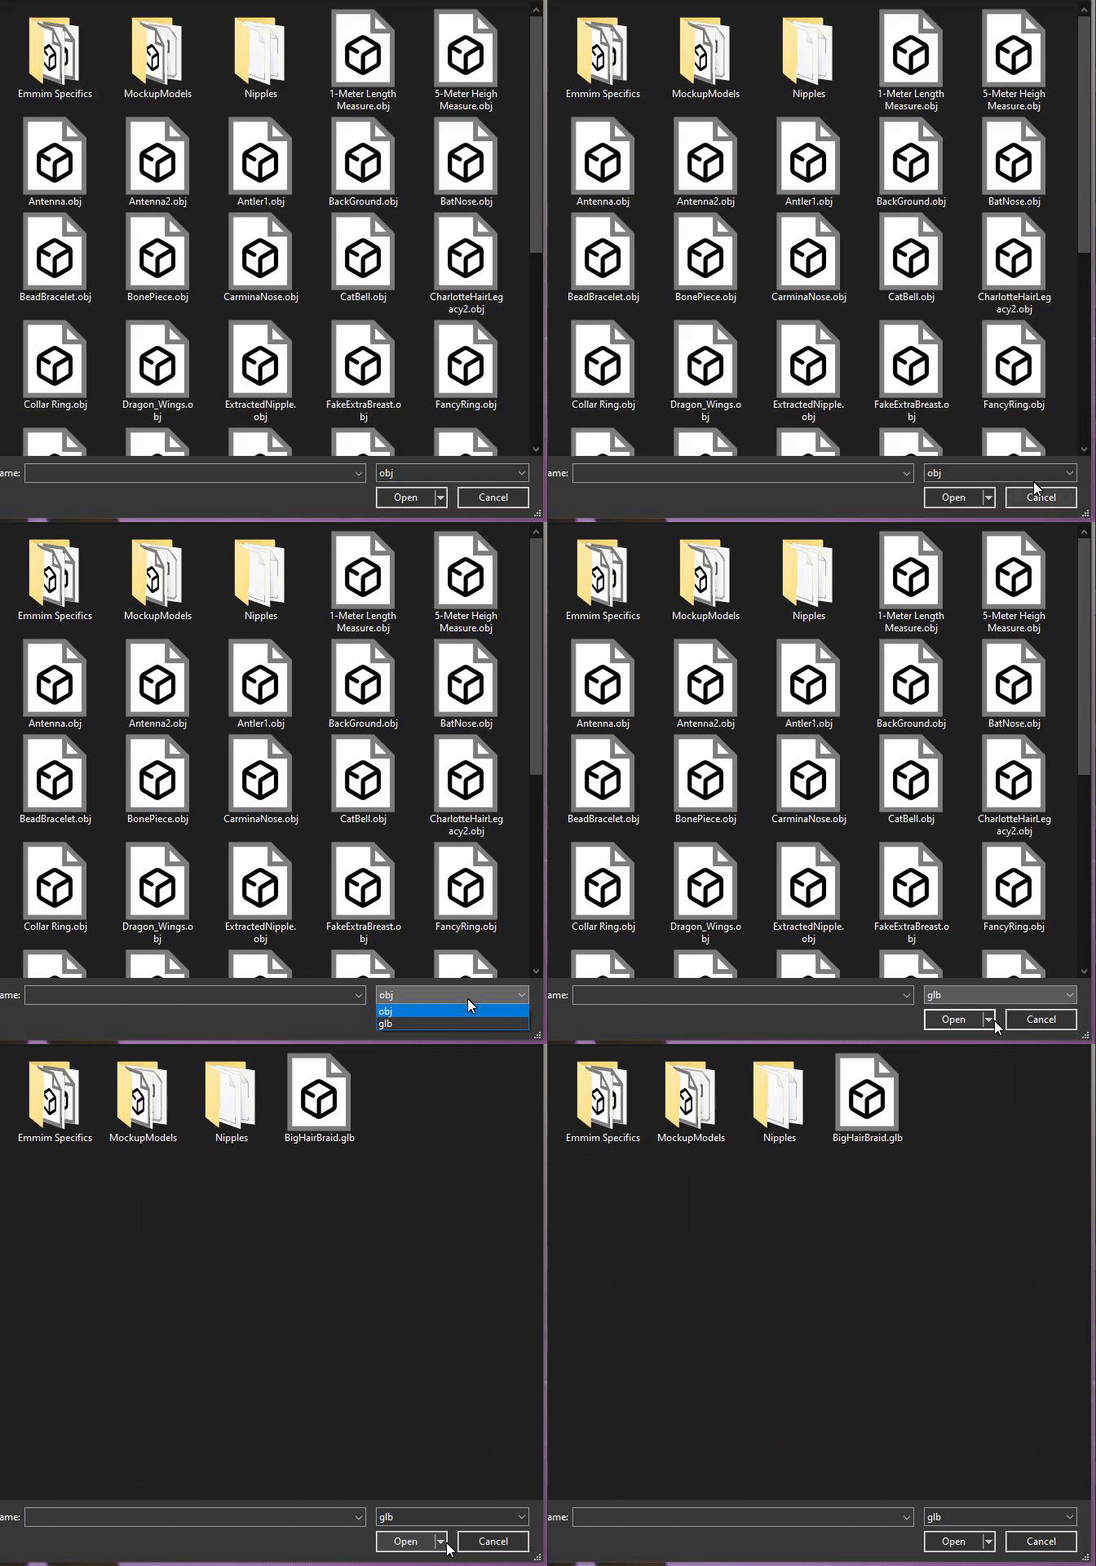
When imported into Fvne, find the .obj and .glb classification on the lower right of the window that opens when importing a model.
¶ Activating Physics
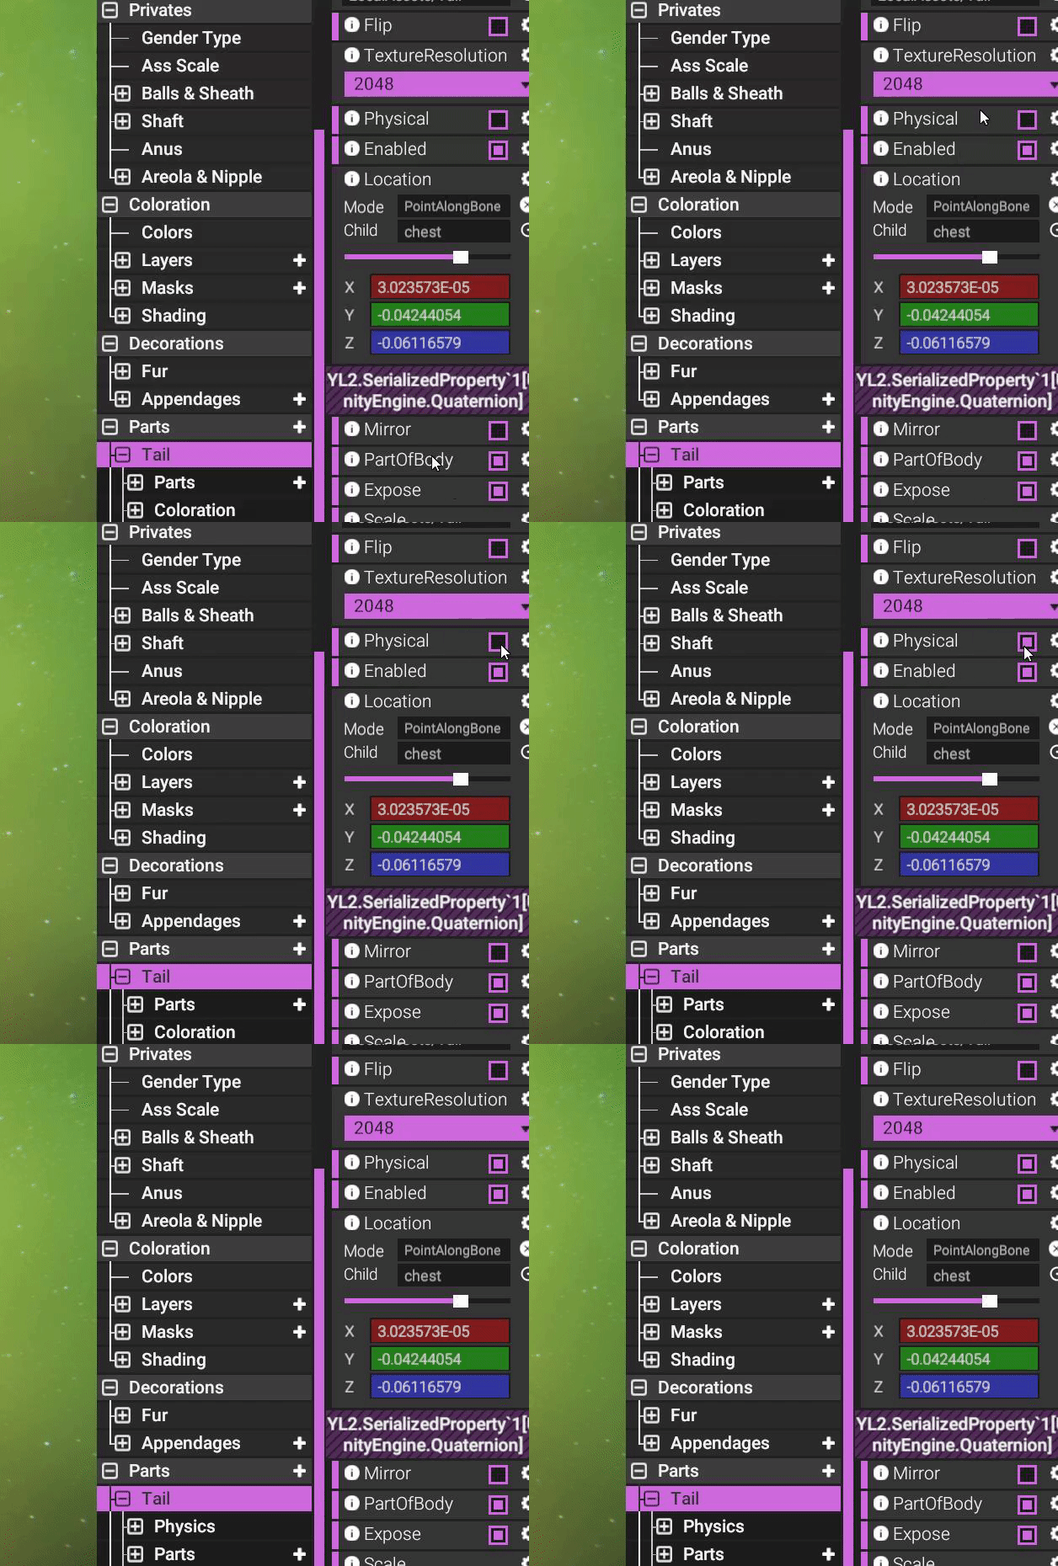
For models put in as a Part, imported as an .glb file will likely have a new “Physics” checkmark available.
Activating the “Physics” checkmark will grant you a new “Physics” section within the part outliner.
Expanding Physics will let you see Chain 0 (Or Chain #Number)
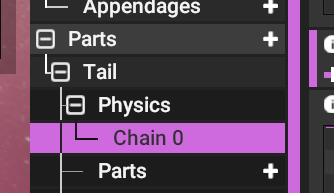
Click on the “Chain 0” to start doing meaningful edits to the physical nature of the rig and the part.
¶ Simple new Properties window
After clicking on a Chain, the first thing to notice is a New Window that popped up.
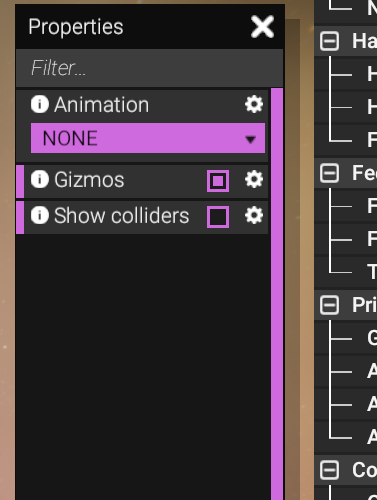
This window has 3 options.
- Animation lets you choose a pre-made animation to test the character in and see how all the physics apply with movement.
Particularly Dance6 and Dance11 are fairly intense. - Gizmos will hide/show the Green, White and Red dots that make up the Chain. Disable this if you want to look at your physical part without the visual clutter.
GREEN gizmos means that it will collide with the character and anything else.
RED gizmos means that it will NOT collide with the character or anything else.
It is an important distinction to make, as a Green gizmo too close to another collider might make it behave in an unwanted fashion. There is a good use for Red gizmos to make certain parts physics behave more naturally. You will often find red gizmos placing a tail into the character, but this just might be a good thing to make the tail rotate around from inside the character. - Show Colliders enables/disabled the showcasing of colliders that are naturally built within the character and perhaps parts. Enable this if you want to make sure all colliders are working as they should with the physical part you are working with.
¶ The main Properties

To the right, within Properties, is the real meat and bones of configuring your physical part.
- Mode selects between Bones or Virtual.
Bones lets you set the entire part to be based off of the rig created for the part.
Virtual adds to that with a new “Segment" option.
Virtual and “Segment” essentially lets you add or reduce the number of bones in the part with the number selected. For instance, if you have 5 bones for the tail part that you have, but you want 10. You set the Mode as Virtual, and type in 10 in Segment. Now, the app will do its best to divide the bones in such a way that it now has 10 bones and not 5. This feature is good for those missing bones that you may want. Or to reduce them if you need it as such.
- Colliders lets you assign manual colliders. The colliders can be added to the character via the [+] on Part Outliner. Due note, that this feature is not naturally intended to be used. However, in the case that you want to use it, you can set up a Box or a Sphere collider. The colliders may take effect for any and all interactions with it. Try not to use this feature, its a niche pre-alpha legacy feature and you shouldn't need it.
- CollisionSmoothing is a slider that smoothens the physical parts resistance to other collisions. To have it not resist and phase through objects, set it to 1. Any less will have it resist collision at various degrees.
- Gravity affects how the object falls. Less gravity means it will be more floaty. The slider itself is the “max” gravity set.
The “Distribution” curve editor affects the object from the Root of the Chain, to the Tip. - Stiffness affects how much the bones deviate in rotation from each other. The more stiff, the less deviation.
The “Distribution” curve editor affects the object from the Root of the Chain, to the Tip.
For something like a Tail, it is often appropriate to make the curve go down from top, to half like a slide. Sturdy roots of a tail, while looser tip. - PosDamping or “Pose Damping” restricts the movement of the physical objects from being too wild. Consider this as a “speed dampener” for whenever the physics is moving too fast.
The “Distribution” curve editor affects the object from the Root of the Chain, to the Tip.
PosDamping is essential to experiment with when it comes to making the physics of your object behave in the way that you want it to. A good combination of Gravity, stiffness and Posdamping allows the part to behave in various ways. From a floaty etheral object, to a rope-like object. Although mainly, PosDamping is used to ensure that the physical part does not move too much in an undesired way. - Size increases/decreases the size of the “Gizmos”. The Gizmos are colliders in of themselves. It helps to size them appropriately based on the model.
The “Distribution” curve editor affects the object from the Root of the Chain, to the Tip. - MassDistribution lets you set the “heaviness” of the object based on the curve.
The “Distribution” curve editor affects the object from the Root of the Chain, to the Tip.
As an example with a tail, the mass might be fairly very low squarely at the tip, but generally high everywhere else. The Mass Distribution curve editor will make your objects feel more natural if appropriated. - InertDistribution lets you deactivate/make a bone Inert.
The “Distribution” curve editor affects the object from the Root of the Chain, to the Tip.
Use this to make certain parts of the physical part be completely inert and behave as stiff as possible. An example being wanting this in hair, where the very root might be too loose regardless of settings. Making it inert might solve the problem of having the hair move off of the skull. - Clone Angle is a slider that lets you set how far off the root bone can rotate. If it can rotate at 360 degrees, it means it can likely make full motion. If it is set to 30 or less, the root bone will try to not deviate its rotation far from its original position.
¶ Time saving feature
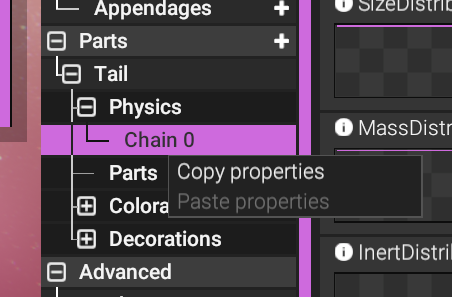
If you have many chains, or physical parts you want to have similar settings with, simply Right Click the edited Chain and you can copy the settings, and then pasting it on another chain.
